From Store Fruit to Tree: Cultivating Pomegranates From Seed
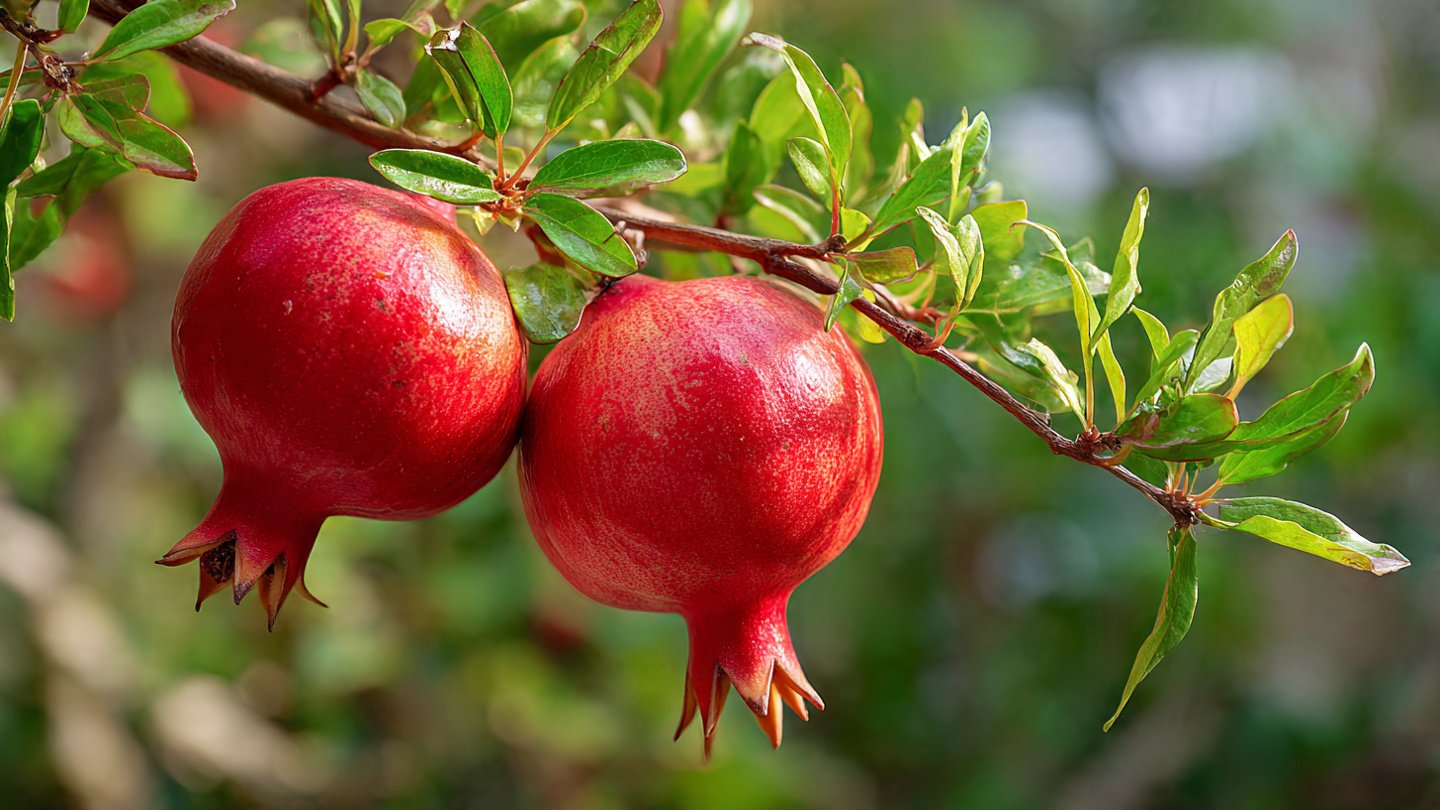
Imagine plucking a ruby-red pomegranate, heavy with juice, directly from a tree you’ve nurtured since it was a tiny, unassuming seed. This isn't a gardener's fantasy reserved for orchards; it's an incredibly rewarding reality you can cultivate in your own home or garden, starting with a humble fruit from your local grocery store. Growing pomegranates (
Punica granatum) from seed is a journey of patience, observation, and deep satisfaction. While it demands a long-term commitment, the process of transforming a small kernel into a thriving, fruit-bearing tree is an experience unlike any other, connecting you directly to the rhythms of nature.
This comprehensive guide will walk you through every essential step, from selecting the perfect fruit to preparing the seeds and caring for your burgeoning tree. You’ll learn how to overcome common challenges and set the stage for years of delicious harvests.
The Allure of Growing Pomegranates from Seed
The idea of transforming a grocery store treasure into a living, fruiting plant often sparks curiosity. The good news? Yes, you absolutely can grow a beautiful and productive pomegranate tree directly from the seeds of a store-bought fruit. It’s a captivating and deeply rewarding process that offers a unique connection to your food source.
Think of it as embarking on a fascinating, long-term gardening project. You're not merely planting a seed; you're investing in a living legacy that could grace your landscape for decades. While it typically takes several years to witness your first fruit, the journey of nurturing a plant from its embryonic stage to a mature tree is profoundly enriching. The resulting tree, while a true pomegranate, might exhibit slight variations in fruit size or taste compared to its parent, as it’s a new genetic individual rather than an exact clone. This natural variation adds to the adventure, making each tree a unique botanical fingerprint.
To maximize your chances of success, the quality of your starting material is paramount. When selecting a pomegranate at the grocery store, opt for one that is large, vibrantly colored, and feels heavy for its size, indicating a healthy, ripe fruit packed with viable seeds. Avoid any with soft spots, cracks, or signs of mold.
Unveiling the Pomegranate Seed: Preparation is Key
The journey from fruit to viable seed is critical, and it all begins with understanding the pomegranate's unique structure. When you crack open a pomegranate, you're greeted by hundreds of jewel-toned arils – the juicy, edible pulp surrounding each tiny seed. This succulent, ruby-red flesh is what we typically consume and often mistakenly refer to as the "seed." However, the aril is actually a specialized *pomegranate seed cover*, a fleshy appendage that develops around the true seed after fertilization, much like the vibrant coverings found on other seeds, such as those of the yew.
The crucial first step for cultivation is to meticulously remove this fleshy aril to reveal the small, white, angular seed hidden within. Improperly cleaned seeds are prone to rotting before they can even sprout, as the residual sugars from the aril can encourage fungal growth.
Step-by-Step Seed Cleaning Process
The goal is to strip away all the red, fleshy pulp without damaging the hard inner seed. Here are several effective methods:
1.
Extract the Arils: Carefully cut open your chosen pomegranate and gently separate the arils from the bitter white pith. The pith itself is not edible and can interfere with the cleaning process.
2.
Remove the Pulp (the Aril Pomegranate Seed Cover):
*
Mouth Method: This is perhaps the simplest and most efficient. Place a small handful of arils in your mouth and gently suck off the juice and pulp. Do not chew the seeds! Once the seed feels clean, spit the hard, white kernel onto a paper towel. This method ensures no waste and thorough cleaning.
*
Napkin/Paper Towel Press: Wrap a handful of arils in a clean napkin or paper towel. Gently press and rub them together. The absorbent paper will help strip away the fleshy pulp. You might need to repeat this a few times with fresh paper until the seeds are clean.
*
Mesh Screen Under Running Water: Place the arils in a fine-mesh sieve or colander. Gently rub them against the screen under cool running water. The water helps wash away the pulp as you rub, allowing the clean seeds to fall through or remain in the sieve. This method is great for larger batches.
3.
Rinse Thoroughly: Once you have a collection of clean, pulp-free seeds, rinse them under cool, clean water. This step is vital to remove any lingering sugars or sticky residue that could lead to mold or rot once planted.
4.
Air Dry Briefly: Spread your thoroughly rinsed seeds on a dry paper towel or a clean, non-porous surface. Let them air dry for a few hours in a cool, well-ventilated spot. The aim is not to dry them out completely for long-term storage, but rather to reduce surface moisture. This brief exposure to air minimizes the possibility of mold developing after planting. However, avoid letting them dry out for too long (e.g., several days) as this can significantly reduce their viability. The clean seeds themselves are small, white, and angular, often with one pointed end where the root will emerge.
For more detailed insights into this crucial stage, refer to our comprehensive article,
Grow Pomegranates From Seed: Your Guide to Cleaning & Planting, which offers additional methods and troubleshooting tips for successful seed preparation. Similarly, our guide,
Mastering Pomegranate Seeds: Cleaning & Germination Secrets, delves deeper into techniques for optimal germination.
Properly dried seeds, free from any of the fleshy *pomegranate seed cover* (aril), can be stored in an envelope in the refrigerator for a few months, but planting them fresh after this initial cleaning and brief drying period generally yields the best germination rates.
From Seedling to Sapling: Nurturing Your Young Pomegranate
Once your seeds are meticulously cleaned and ready, the next exciting phase begins: germination and early growth. Pomegranate seeds are relatively straightforward to germinate, but a few key conditions will significantly improve your success rate.
Germination and Initial Planting
*
Planting Medium: Use a high-quality seed-starting mix or a blend of equal parts potting soil, perlite, and sand. This ensures excellent drainage, which is crucial for preventing root rot.
*
Containers: Small pots (3-4 inches in diameter) with drainage holes are ideal for starting. You can plant several seeds per pot, thinning them later.
*
Depth: Plant seeds about 1/4 to 1/2 inch deep.
*
Moisture and Temperature: Keep the soil consistently moist but not waterlogged. A spray bottle can help maintain surface humidity. Pomegranate seeds prefer warmth for germination, ideally between 65-75°F (18-24°C). A heat mat can be beneficial in cooler environments.
*
Light: While seeds don't need light to germinate, once sprouts appear, move them to a bright location with indirect sunlight or under grow lights for 12-14 hours a day.
*
Cold Stratification: A common question is whether pomegranate seeds require cold stratification (a period of simulated winter conditions). Generally, the answer is no for most common varieties, especially those from store-bought fruit. However, some sources suggest that a short period (2-4 weeks) of cold stratification in a moist paper towel in the refrigerator can sometimes improve germination rates or break dormancy in particularly stubborn seeds. For fresh, clean seeds, it's often an unnecessary step.
Germination typically occurs within 2-6 weeks, though it can sometimes take longer. Be patient! Once the seedlings develop a few sets of true leaves, you can gently thin them, keeping the strongest one per pot.
Early Care and Transplanting
*
Watering: Continue to keep the soil consistently moist, allowing the top inch to dry out slightly between waterings.
*
Light: Provide plenty of bright, indirect light. Young pomegranates can be susceptible to scorching in intense direct sun.
*
Fertilization: Once your seedlings are a few inches tall and have several true leaves, you can begin feeding them with a diluted balanced liquid fertilizer (e.g., half-strength 10-10-10) every 2-4 weeks.
*
Transplanting: When your seedlings are about 6-12 inches tall and their roots begin to fill their starter pots, it’s time to transplant them into larger containers (1-3 gallon) or directly into the ground if your climate is suitable. Pomegranates thrive in well-draining soil and full sun (at least 6-8 hours daily). They are relatively drought-tolerant once established but appreciate regular watering during dry spells, especially when young.
The Patient Gardener's Reward: Flowers and Fruit
The most anticipated phase of growing a pomegranate from seed is, of course, the arrival of its beautiful flowers and the subsequent fruit. However, this requires significant patience.
Typically, pomegranate trees grown from seed will begin to flower and fruit anywhere from 3 to 6 years after germination, and sometimes even longer, depending on the variety, growing conditions, and climate. Don't be discouraged if you don't see fruit in the first couple of years; focus on providing excellent care to ensure a healthy, robust tree.
Factors Influencing Fruiting:
*
Maturity: The tree needs to reach a certain level of maturity before it can support fruit production.
*
Sunlight: Abundant sunlight is crucial for flowering and fruiting.
*
Nutrients: A balanced fertilization program, with slightly higher potassium once flowering begins, can encourage fruit set.
*
Watering: Consistent watering is important, especially during flowering and fruit development. Stress (either too much or too little water) can cause flower or fruit drop.
*
Pollination: Pomegranates are largely self-pollinating, but having multiple trees or encouraging pollinators can sometimes improve yields.
As your tree matures, consider basic care practices like light pruning to shape the tree and improve air circulation, protecting it from severe frosts if in a colder climate, and monitoring for common pests or diseases. The reward for your dedication will be the unparalleled joy of harvesting your own sweet, tangy pomegranates – a true testament to the fascinating journey from a small seed to a magnificent fruit-bearing tree.
Conclusion
Cultivating pomegranates from seed is a fulfilling endeavor that offers a deep connection to the natural world and a unique, long-term gardening project. From carefully cleaning the seed of its initial fleshy *pomegranate seed cover* to patiently nurturing a seedling into a mature, fruit-bearing tree, each step in the process builds anticipation for the eventual harvest. While the journey demands patience, the satisfaction of picking a homegrown pomegranate, knowing you started it from a single seed, is an unparalleled reward. So, next time you enjoy a store-bought pomegranate, consider saving a few seeds and embarking on your own enriching botanical adventure. Your future self (and taste buds) will thank you.